Tuesday, September 25, 2012

Parmesan Roasted Potatoes


Who doesn't love potatoes?? Something is definitely wrong with you if you don't love a good potato! A perfectly cooked and salted baked potato with a steak, or mashed potatoes.....delish! Well, I know we all try not to eat as many potatoes these days, but I think once in a while is okay. Trust me, would I lie to you?? I don't like to serve them the same way all of the time so I was really excited when I found this recipe. I actually can't remember if one of my friends on the Food Network told me about this one or my favorite site for recipes, allrecipes.com. Let's just call it my recipe, shall we??

These turned out really nice and were so flavorful. A great addition to any meal. Oh, and super simple. Here's what you need to get started....

  • 9-10 small baby Dutch yellow potatoes or little new potatoes
  • 3-4 tbsp grated Parmesan cheese
  • 1 tbsp olive oil
  • Garlic powder, to taste
  • Sea salt and fresh cracked pepper, to taste
  • Fresh chopped parsley, for garnish
Preheat oven to 350 degrees. Boil a large pot of water and boil the potatoes for 4-5 minutes. Remove from water and let cool. Or you can steam in the microwave, which is what I did. Once cooled, slice into quarters and combine with olive oil, garlic powder, sea salt and black pepper as well as the Parmesan. Mix thoroughly and place in a baking dish that has been sprayed with olive oil cooking spray.
Place into the oven and roast for 20-25 minutes. Remove from the oven and taste, season with sea salt, cracked pepper, or garlic powder if needed.
 Garnish with fresh chopped parsley. Enjoy.

Thursday, September 20, 2012

Pillow Butter Mints


Okay, now I know I've gone off the deep end.....I made BUTTER MINTS!! Yes, you heard me correctly.....I didn't buy them, I made them! Is that crazy or what? I still can't believe I made them, but it was super simple and they were melt in your mouth delicious! I will be making these for my next party, or just the next time I'm bored. Do you want to know how to make them too?? I'll bet you do, so here you go....

1 box  10x sugar
5 T butter, softened
2 T heavy cream or half and half
2 t mint extract
1 drop of food coloring (optional)
Combine all ingredients with a mixer or food processor. I used my stand mixer. Blend until dough comes together and forms a smooth ball.
Break off a golf ball size (or slightly larger) section of the dough and roll into long thin roll (as shown).
Slice into 1/2 inch pillow mints. Isn’t that cool? Now they look like the ones you get in restaurants or in a bag at the store, but you actually made them! How cool is that??
Dry for several hours at room temperature. Store in airtight container in the refrigerator, or freezer for up to 3 months, with wax paper separating the layers.
Makes about 100 pillow mints. I shared these with several girlfriends and everyone agreed they were a little bite of heaven. Melt in your mouth delicious!
Use the food coloring if you want to make for baby showers or other fun occassions. I left mine white, you know, all natural and organic for me. :-)
Enjoy!!

Tuesday, September 18, 2012

Hot Chicken Salad


Who says Paula Deen can’t come up with a healthy recipe once in a while? There isn’t even one stick of butter in this recipe!  All you Paula haters out there, give it up. Find something better to do. I love me some of Paula’s cooking. Most of it might not be the healthiest, but I’ll bet it’s the best tasting! I “like” my friend, Paula, on Facebook. And since we’re close like that, Paula posts recipes and this one caught my eye one day…..Hot Chicken Salad. Now doesn’t that sound tasty? And the picture looked pretty darn tasty too. As Paula says, “you eat with your eyes first” . This one looked pretty and made me hungry.  It is topped with potato chips. Yummy! Of course, I tried to make ours a little bit healthier and used Baked Lays instead of delicious regular potato chips. Feel free to go all the way with the regular chips. To tell you the truth, I think it would have tasted better with regular chips, but it was still yummy.

Okay, and if I’m going to be honest with my friends on my blog, Paula didn’t really make this recipe healthy, I did. I still love her though. I used reduced fat sour cream instead of mayo. Mostly because I can’t stand mayo and it makes me gag to think of eating it! But hey, if you like mayo, go for it. I’m sure you’ll love this recipe with or without the mayo.


Ingredients

  • 2 cups cooked chicken breast meat, cubed
  • 1 cup diced celery
  • 1 small onion
  • 1/2 cup slivered almonds
  • 1/2 teaspoon salt
  • 1/2 teaspoon pepper
  • 2 tablespoons fresh lemon juice
  • 1 cup mayonnaise (or sour cream)
  • 1 cup grated sharp Cheddar
  • 2/3 cup crushed potato chips

Directions
Preheat oven to 350 degrees F. Spray a 13 by 9-inch baking dish with vegetable oil cooking spray.


Saute’ onion and celery in a tablespoon (or more) of olive oil until soften – this is really an option step. If you like your chicken salad really crunchy, you can skip this step and just combine in a bowl with the other ingredients.

In a large mixing bowl combine the chicken, celery, almonds, salt, pepper, lemon juice, mayonnaise, and cheese. Place the mixture in the prepared baking dish. Spread the crushed potato chips on top. Bake for 20 minutes, or until bubbly.


Sounds pretty easy, right? It was super simple and full of flavor. My husband loves cold chicken salad and he liked that this was a lot of the same flavors he loves…..except for the mayo. :-)


Give this one a try! I hope you enjoy it as much as Paula and I do.

Tuesday, September 11, 2012

Delicious Jambalaya


Okay, this is one of my all-time favorite dishes! I know, I know, I say that a lot, but I have been making this one for many years thanks to a friend of  mine (Susan). We lost touch for a few years, I lost the recipe in a move, so no more jambalaya for me! I’ve been sad about this for many years and couldn’t find just the right recipe. I like my jambalaya with lots of tomato flavor and this one was just the perfect combination of that. All I could do was dream of it…..until she found me on Facebook! Thank you Facebook and thank you Susan for finding me. Of course, it’s great to be back in contact with her, but it’s awesome to have my jambalaya recipe back in the cookbook! What a sweet reunion.

There is a good deal of chopping in the recipe so make sure you have the time when you start making it. You can really use whatever meat you like, but I love this one with a combination of shrimp and kielbasa. You could use also use ham or chicken, but if I were you, I’d stick with the shrimp and kielbasa.


Sorry I don’t have pictures to show you the process. I was so excited to be making it again that I just took one when I was finished and as you can see, I didn’t do a great job with that either. I’ll be making this again soon so I’ll update this post with more pics.

Ingredients:

3 tbsp. butter
1/2 cup each chopped onion, green onions, celery
3/4 cup green pepper, diced (I like using red or yellow peppers)
2 cloves garlic, minced
2 cups chicken broth
2 cans stewed tomatoes, chopped (I used the ones with italian seasonings added)
1/4 cup chopped parsley
1/2 tsp salt
1/8 tsp each pepper, cayenne pepper
1/2 tsp thyme
2 bay leaves

1 cup uncooked rice
1 bag of frozen shrimp (about 25-30 medium)
1/4 lb kielbasa or cooked, diced ham

Directions:


Heat butter in large heavy skillet over low heat. Stir in onions, celery, green pepper, kielbasa (or ham) and garlic. Cook over medium heat for 10 minutes or until onions are tender. Stir in broth, tomatoes, parsley and seasonings. Cover. Bring to a boil. Add rice gradually, stirring with fork. Simmer, covered for 20 minutes or until rice is tender. Mix in shrimp. Cover. Simmer for 5 minutes longer. Yield: 6-8 servings.

This is such a flavorful dish. I’m sure you are going to love it. I usually double the thyme and garlic because I like tons of flavor so you might want to start off with the correct amount, taste and decide for yourself.

Delish!

Thursday, September 6, 2012

Blueberry Lemon Crumb Bars


I have really starting loving blueberries this year. I guess because I started baking more, but mainly because they are just delicious. You’ll see on this blog that I’ve made an awesome blueberry pound cake, scones, muffins…..I feel like Bubba on Forest Gump naming all the ways you can use blueberries. It's so true though. Who knew you could make so many delicious things with blueberries?? Well, you're lucky you have me to lead you in the right direction....to the land of blueberries!

This could be a delicious breakfast treat or a yummy dessert. I had friends over for dinner and served it as dessert with a scoop of vanilla ice cream. Of course, I had my ice cream on the side. I don't like things touching, but that's for another therapy session. Let's get back to the crumb cake.....

Here's what you need to get started:


Ingredients

1 cup white granulated sugar (for a lower fat version, use ½ c splenda and ½ c sugar)
1 teaspoon baking powder
3 cups all-purpose flour
1 cup unsalted butter
2 eggs
2 teaspoons pure vanilla extract
1/2 teaspoon kosher salt
zest of two lemons
 
Filling

4 cups fresh or frozen blueberries
1/2 cup white sugar ( I used ½ c Splenda)
3 teaspoons cornstarch


Directions

1.Preheat the oven to 375 degrees F (190 degrees C). Spray a 9×13 inch pan with nonstick cooking spray.

2.In a medium bowl, stir together 1 cup sugar, 3 cups flour, salt, lemon zest and baking powder.

3. In a small bowl, whisk the egg and vanilla together until combined.
4. Use pastry cutter or your food processor to blend the flour mixture with the butter and egg/vanilla mixture. I find the easiest method is to grate very cold butter into the mix.  That way I didn’t have to get the food processor dirty!


After mixing the butter in with the dry ingredients, the dough will be crumbly (really an understatement, it is VERY crumbly). Pat half of dough into the prepared pan. Remaining half will be used as topping.


5. In another bowl, stir together 1/2 sugar and cornstarch. Gently mix in the blueberries and coat with mixture. Sprinkle the blueberry mixture evenly over the crust.

Crumble remaining dough over the berry layer.

6. Bake in preheated oven for 45 minutes, or until top is slightly brown. Cool completely before cutting into squares. Enjoy!


Tuesday, September 4, 2012

Garlic Monkey Bread

 
A picture of pure beauty!
 
OMG!!! I found this recipe on Pinterest and started drooling as I was reading it. I love me some garlic bread and this garlic bread is made like monkey bread?? How cool is that? I first learned how to make the cinnamon monkey bread in Home Economics class in high school. Thank you Mrs. Sheets.  Man that was some good stuff and fun to eat too. Well, you wanna know what’s even better??  Make it savory, individual servings and throw a bunch of garlic and butter on it. Delicious! Oh yeah, and I forgot to mention how easy this is to make. I made this last weekend when I had friends over for dinner and we all loved it. My friend, Alan, loved it so much that I had to send the rest home with him. It was probably gone in a day! This would be awesome served with a big ole bowl of pasta or tomato soup. Mmmmmmmmm……it would actually be good served with anything!
 
Let’s get started with the best garlic bread you’ll ever taste…..
 
2 (7.5 oz) cans buttermilk biscuits
6 Tbl. butter, melted
4 cloves garlic, minced (feel free to add more for better flavor. I used 5)
2 Tbl. dried parsley flakes (I only had fresh so I used that)
1/4 c. grated Parmesan cheese
plus 2 Tbl. to sprinkle on top
 
Cut each biscuit into 4 pieces and place in a bowl, like so....


Combine remaining ingredients and pour over biscuit pieces. Gently toss to evenly coat. Use a greased 12-cup muffin tin and place 6-7 pieces in each cup.
 
 
Sprinkle remaining 2 Tablespoons of cheese over the top. Bake at 400 degrees for 12-14 minutes. Serve warm. Makes 12.
Could that be any easier?? Make these, you’ll thank me later!
Can I have a bite now?? Yummy!


Tuesday, August 28, 2012

Chicken Cacciatore


I've always wanted to make this dish and thanks to my friend, Michelle, I finally did! She posted a picture of her dinner and the recipe on Facebook one night and I quickly  nabbed it! Thanks Michelle. She has lots of great recipes posted on her Willow House page too so be sure to check those out.

http://michellepuletti.willowhouse.com/NewsAndEvents/FeatureDetail/25324

But let's get back to me and my blog for now. :-) I love dishes that have tomato flavor and adding peppers and mushrooms just makes it even better. I love that combination. Let's get started on our Chicken Cacciatore. Isn't that fun to say?? Chicken Cacciatore. What did you have for dinner....Chicken Cacciatore. Okay, back to the instructions. Let's make some Chicken Cacciatore!

Ingredients:


1 large package of Pick of the Chix (or really whatever you like, anything works)

1 tablespoon extra-virgin olive oil

1 lb white mushrooms, quartered

2 small onions, sliced 1/4 inch thick

2 large bell peppers (preferably 1 red and 1 green), sliced 1/4 inch thick. I used yellow because it was prettier.

4 garlic cloves, smashed

1/2 cup dry red wine

One 28-ounce can crushed Italian tomatoes

One 14 1/2-ounce can low-sodium chicken broth

3/4 pound linguine (I served with angel hair because I like that better)

Coarse salt and ground pepper

1 T Italian seasoning

3-5 fresh thyme sprigs

1/4 cup chopped fresh basil

 flat-leaf parsley
 
parmesan cheese for garnish

Directions:


Remove most of skin from chicken. Heat a deep 10-inch skillet or 6-quart Dutch oven over medium heat until hot. Add the chicken pieces; cook until browned, about 8 minutes, turning once. Transfer to a plate.

In same pan, heat 1/2 tablespoon olive oil. Add mushrooms; cook on medium-high, stirring, until softened and browned, about 7 minutes. Transfer to a bowl.

Add remaining 1/2 tablespoon oil to pan; add onions, peppers, and garlic; cook on medium-high, stirring occasionally, until golden, about 4 minutes.
I love those colors! See why I like red and yellow? So pretty.

Pour in wine; bring to a boil. Cook until almost evaporated, about 3 minutes. Add tomatoes, fresh thyme, italian seasoning and broth; return chicken to pan. Simmer, turning occasionally, until meat is tender and sauce is thickened, about 1 hour.

Stir in mushrooms and fresh basil. While the chicken is finishing up, cook pasta in a large pot of boiling salted water until al dente. Drain; serve with chicken and sauce. Garnish with more basil or parsley and parmesan cheese.

 
Enjoy!

Thursday, August 23, 2012

Pesto Chicken w/Goat Cheese


You should recognize this dish. It is my most delicious and popular, Pesto Chicken, but I put another spin on it tonight and added goat cheese! Man, was that delicious! I still sprinkled a little mozzarella cheese on top as well (why not, right), but the goat cheese was the winning flavor! Actually, I had herbed goat cheese which was even better. I do love me some goat cheese. You might have recognized that fact if you read my blog regularly. If you're not a fan, try feta instead.....love me some feta too. :-)

Also, this time I only had boneless chicken thighs so I used them. You can pretty much use whatever type of chicken you have on hand.

See my original blog post for the instructions:

http://dawnsblogalicious.blogspot.com/2012/05/pesto-tomato-chicken-yummy.html

Put your own spin on it and tell me how it turns out! Enjoy!


Sunday, August 19, 2012

Awesome Brunswick Stew

 
There is one thing I love more than life....okay, maybe not that much, but I really, REALLY, really LOVE Brunswick Stew. It can’t just be any Brunswick Stew either. I’m a Brunswick Stew connoisseur and the best Brunswick in the world is found in my hometown of Thomaston, GA at Piggie Park. Piggie Park is a local drive in restaurant that honestly makes the best Brunswick Stew I’ve ever tasted.  Since we moved to Richmond, VA I’ve tried to find a stew that can come even close to their recipe. I’ll just skip ahead and let you know that we’ve been in Richmond for 9 years and my friends don’t allow me to order Brunswick Stew at restaurants anymore because they know I won’t like it. So what am I to do? I can't go without! I live so far away from Piggie Park, but I love Brunswick Stew. Well, in walks Trisha Yearwood into my life. Thank you Food Network for giving Trisha her own cooking show. She makes some awesome recipes, but the best one to date is her dad’s Brunswick Stew recipe. I could tell when she was making it that it was going to be close to my all time favorite so I had to give it a try. I actually still can’t believe that I made Brunswick Stew, but I did and it was AWESOME! I’m not even kidding, it is so good. If you love, or even like, Brunswick Stew, this is your recipe. I urge you to try it at least once! Okay, let’s get started because this is going to take a little time.
 
 
Ingredients
  • 1 pound Boston butt pork roast (I doubled the pork and didn’t use the beef roast at all)
  • 1 pound fresh chicken or hen, bone in
  • 1 pound boneless beef chuck roast
  • 1 pound red potatoes, peeled and quartered (I also forgot to peel and they were fine)
  • 2 1/2 teaspoons ground black pepper
  • 1/8 teaspoon ground cayenne pepper
  • 1 small sweet onion, such as Vidalia, chopped
  • 6 cups canned whole peeled tomatoes (I'm not sure why I couldn't just use crushed tomatoes since I blended them in the food processor, but again, I just did as Trisha recommended)
  • 3/4 cup ketchup
  • 2 tablespoons Worcestershire sauce
  • 2 1/2 teaspoons salt
  • 32 ounces (4 cups) cream-style white corn
    Directions:
Place the pork and chicken in a 1 1/2 gallon stock pot with enough water to cover. Cook at a medium simmer for 2 hours, or until the meat is very tender, skimming occasionally. Remove the meat to a bowl and reserve the stock. Meanwhile, in a separate large stockpot, do the same to the beef. Remove the beef and discard the broth. Remember, I left the beef out and only used pork and chicken, but Trisha used the beef so you decide.
Place the potatoes in a medium saucepan, cover with water and simmer until tender. Or you can plop them in with the chicken and pork and cook all in one pot like I did.
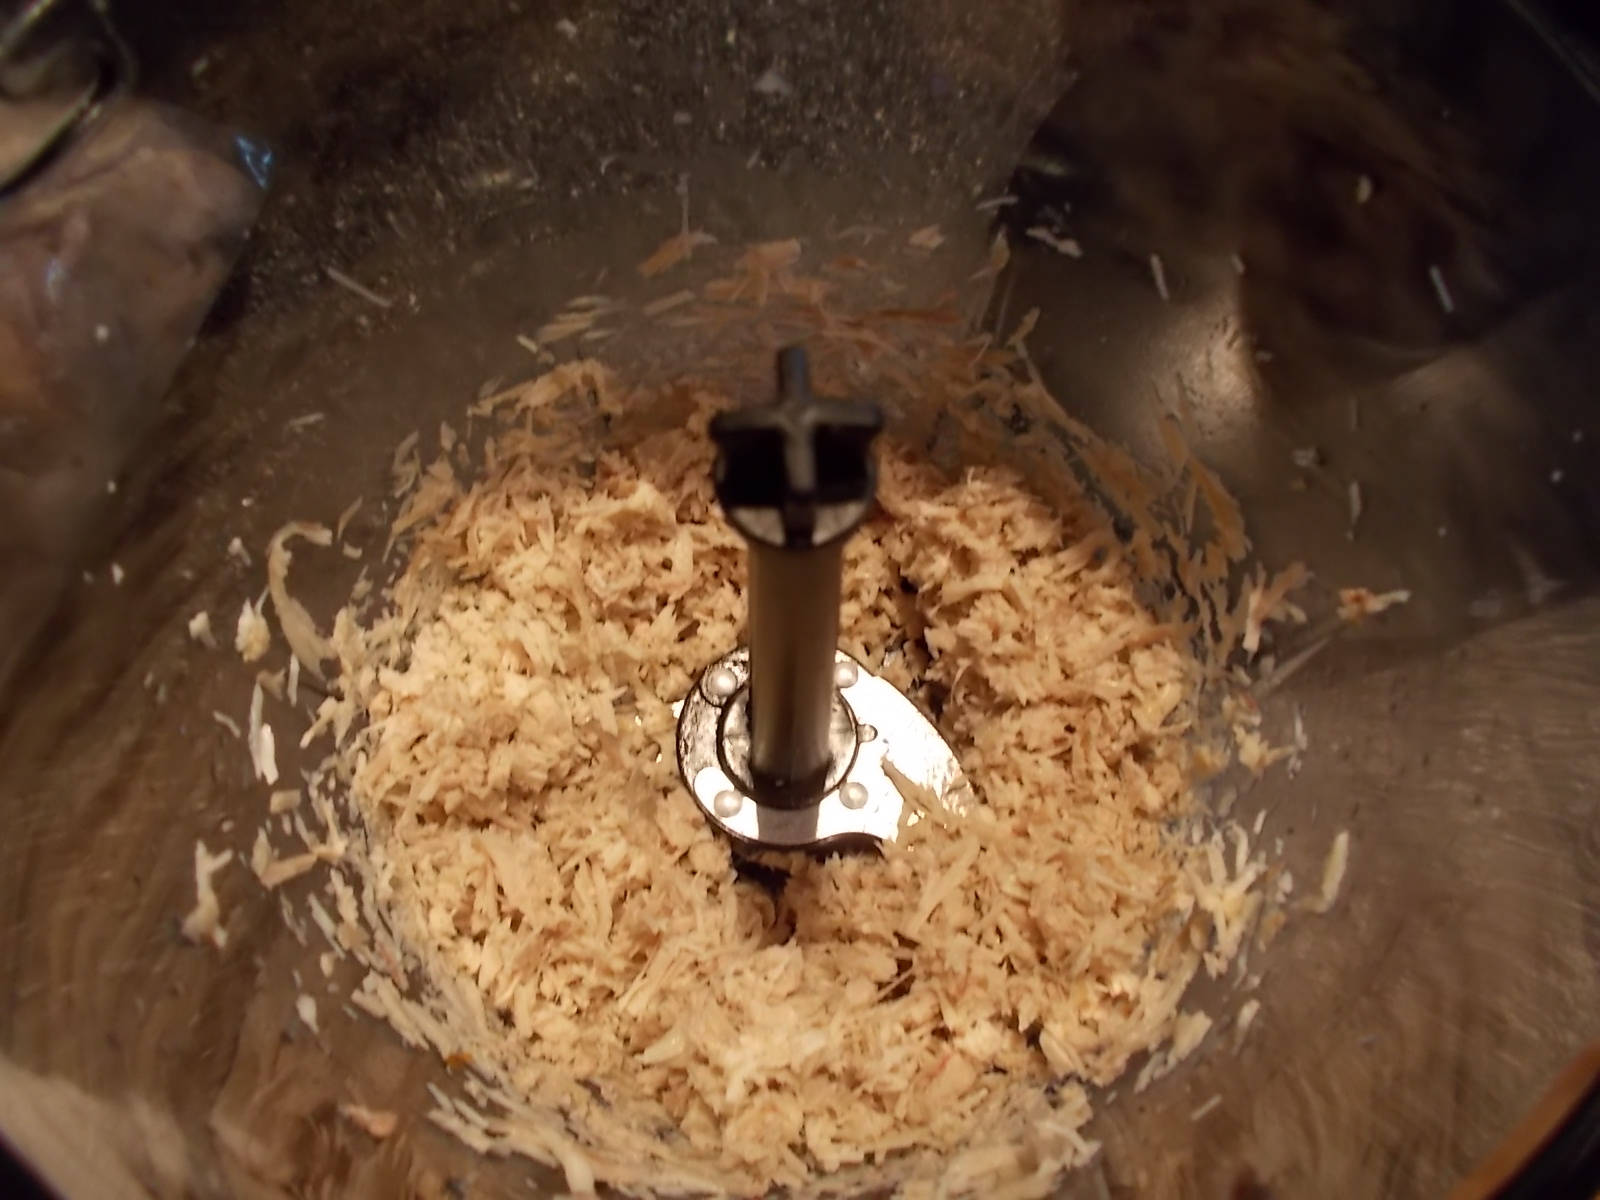
Remove and discard the bones and skin from all of the cooked meat, pull apart or cut into chunks and process in a food processor or meat grinder until ground.


Put 2 pints of the reserved pork and chicken stock into a 1 1/2 gallon stock pot, reserve the rest for another use. Add the ground meats to the stock. Dissolve the black pepper and the cayenne pepper in 1 tablespoon water, and add to the stew. Trisha says when you add pepper directly to a pot that the pepper will never mix in correctly so she dissolves in water first. I don't know if I've had that problem in the past, but I wasn't cutting any corners so I did what Trisha said.
Add to the onion and tomato to the food processor, process well and add it to the meat mixture with the ketchup and Worcestershire sauce.
This is just the meat, stock and tomato mixture. It looks yummy already.

Process in the food processor the cooked potatoes, then add to the stew, stirring until any lumps are removed. Stir in the salt. At this point, the stew should be soupy not watery. If the stew is too thick to stir easily with a flat spatula or pancake turner, thin it slightly with more reserved pork and chicken stock. Cook for 30 minutes, stirring constantly.
Puree and add the corn, then continue to cook the stew over very low heat for 1 hour, stirring often and scraping the bottom of the stock pot with a flat spatula or pancake turner to avoid scorching.
Look how much stew this recipe makes! I put two batches in the freezer. This is the best recipe. I really recommend it. If you make it, be sure to come back and tell me how you liked it. I hope you enjoy it as much as I did!


Thursday, August 16, 2012

Make your own Hummingbird Nectar

See my little hummingbird on the feeder enjoying my homemade nectar....

If you’re like me, you love the hummingbirds to visit your yard. I love to to see them fluttering around my feeders. I used to always buy the red food and would constantly run out. Well, buy the red stuff no longer! You can make the food yourself at home and it’s super simple.....and cheap. The food doesn’t have to be red either. If it’s in a hummingbird feeder, which usually has red decorations, they will come. Trust me! Here’s how you make it:
4 cups of water
1 cup of sugar
 
 
Bring the water to a boil. Remove from heat, add sugar and stir until dissolved. Cool and fill the feeders. It’s that easy!
You can store the excess in the fridge for later use. It is important to the health of the birds to keep hummingbird feeders clean and the nectar fresh. It is recommended that you clean the feeders every few days and fill with fresh nectar. You may use a 10% bleach solution if you rinse well.
Now you can have hummingbird nectar available any time you need it.
See the hummingbird in the air to the right of the feeder? So cute.